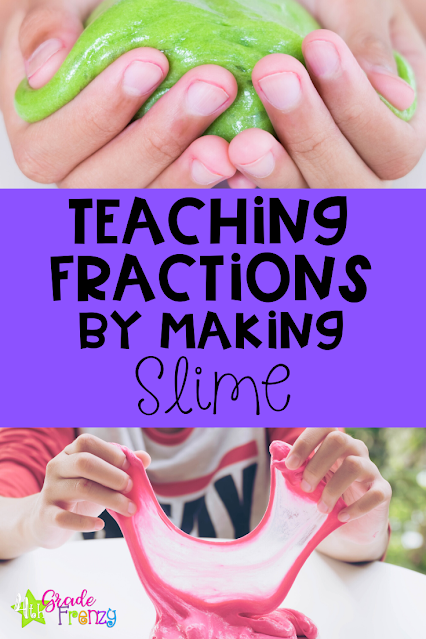
My absolute favorite way to teach and explore fractions is to make slime with the kids! At the end of the school year, many kids say making slime is their favorite activity of the year. Allow me to share how we make slime while learning fractions!
Prepare For The Lesson
1. Choose The Recipe.
Keep student allergies in mind, and be choose a recipe with safe ingredients.The recipe I have had success with is listed below.
2. Gather Up Materials.
For the recipe below you will need:white school glue (one-fourth cup per student)
baking soda (a three-fourth teaspoon per student)
food coloring
contact lens solution (1.5 teaspoons per student)
plastic bowls
craft sticks for stirring
wax paper
measuring cup (one-fourth)
measuring spoons (one teaspoon, one-half teaspoon, three-fourth teaspoon)
I use 2 days to complete the slime activity.
Slime Making Day One
1. Post The Recipe.
I post this recipe on the board:4 oz (one-half cup) white school glue
1.5 teaspoons baking soda
6 - 8 drops food coloring
3 teaspoons contact lens solution
I explain that the recipe would make enough for 2 kids, but I want each student to be able to make their own slime. "Hmmm, how can we work this out?" Some of your students are bound to come up with halving the recipe.
2. Do Some Math.
We then take the time to do the math of halving each ingredient.Here is the recipe that we end up with:
2 oz (one-fourth cup) white school glue (We use Elmers.)
3/4 (three-fourths) teaspoon baking soda
3 - 4 drops of food coloring
1.5 (one and one half) teaspoon contact lens solution
We then go over the vocabulary word knead. Demonstrate with playdough or show a visual of dough being kneaded.
Slime Making Day 2
1. Set Up The Materials Prior To The Lesson.
It may help to measure out the glue in advance using small plastic cups. This can be done by pouring 2 ounces (one-fourth cup) of water into one cup, making a line where it stops with a sharpie, and marking the same spot on all the other cups. The lines show where to fill with glue. This way the glue can be poured up to the line without having to use a measuring cup every time.Using a table, line up the materials like a buffet station. Students will be forming a line and taking a plastic bowl, pouring the glue, taking a popsicle (craft) stick to stir, adding baking soda, adding food coloring, and adding contact lens solution.
2. Set Expectations Rules And Give Directions.
3. Have Fun Making The Slime!
-Take a plastic bowl and the pre-measured one-fourth cup of glue.
-Pour the glue into the bowl. Discard the empty cup.
-Add 3/4 (three-fourths) teaspoon baking soda to the glue and stir with a craft stick.
-Add 3 - 4 drops of food coloring and stir again
-Add 1.5 (one and one-half) teaspoon contact lens solution. Stir until slime forms.
(Additional contact lens solution can be added a drop at a time if consistency is too sticky.)
-Knead on wax paper.
-Play with slime!
-Store in plastic Easter Eggs or container of choice.
Give students time to reflect on the lesson. Remind students to follow the rules of their parents/guardians for playing with slime at home and to keep it away from babies, small children, and pets!
*Note: students often ask for a copy of the slime recipe!
Extend your study of fractions with this fun printable fraction activity to reinforce multiplying fractions by whole numbers.
What creative ways have you taught fractions in your class?
Are you a subscriber yet?
FREE Activity for new subscribers: Sign up for the Fourth Grade Frenzy newsletter!
Click the star to follow my TpT store! ⭐


